
How to
Start and Stop EC2 Instances Automatically for Cost Efficiency Using
EventBridge
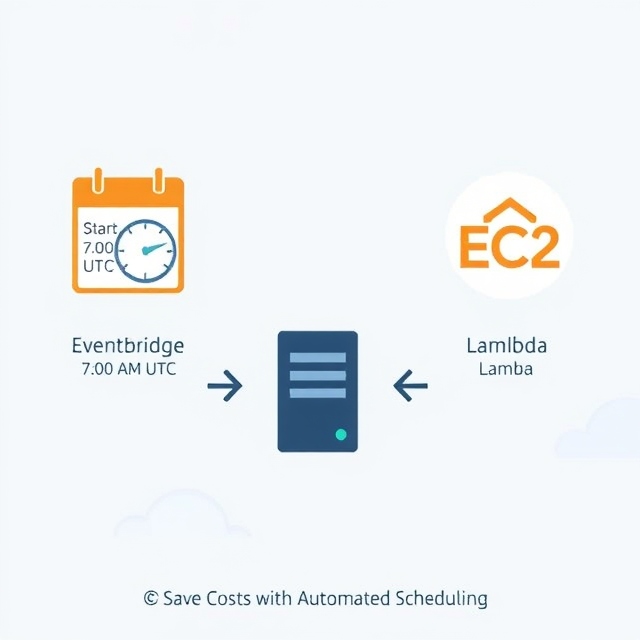
Managing your AWS EC2 instances efficiently can save
significant costs, especially if your instances are not required to run 24/7.
By using Amazon EventBridge, you can automate starting and stopping EC2
instances based on your schedule. This step-by-step guide will show you how to
set up this automation with EventBridge, even if you are a beginner.
Why Automate EC2 Start and Stop?
- Cost
Savings: Avoid paying for instances when they are idle.
- Time
Efficiency: Automation saves you from manual intervention.
- Scalability:
Manage multiple instances with a single schedule.
Step 1: Define the Automation Requirements
Before starting, decide the following:
- Start
Time: When your instance should start running (e.g., 7:00 AM UTC).
- Stop
Time: When your instance should stop (e.g., 7:00 PM UTC).
Step 2: Create an IAM Role
- Go
to the IAM Console:
- Create
a new role for AWS Lambda.
- Attach
Policies:
- Add
the AmazonEC2FullAccess policy to allow Lambda to start and stop
EC2 instances.
- Save
the Role: Note the role name, as you will need it later.
Step 3: Write Lambda Functions
Amazon EventBridge triggers AWS Lambda functions to start or
stop the EC2 instance. Here’s how to set up the Lambda functions.
A. Create a Lambda Function to Start the Instance
- Open
the Lambda Console and click Create Function.
- Choose
Author from Scratch:
- Function
Name: StartEC2Instance
- Runtime:
Python 3.x
- Role:
Select the IAM role you created earlier.
- Use
the following Python code to start the instance:
python
import boto3
def lambda_handler(event,
context):
ec2 = boto3.client('ec2')
instance_id = 'your-instance-id' # Replace with your EC2 instance ID
ec2.start_instances(InstanceIds=[instance_id])
print(f"Started instance: {instance_id}")
- Save
and deploy the function.
B. Create a Lambda Function to Stop the Instance
- Repeat
the same process as above.
- Function
Name: StopEC2Instance
- Use
the following Python code to stop the instance:
python
import boto3
def lambda_handler(event,
context):
ec2 = boto3.client('ec2')
instance_id = 'your-instance-id' # Replace with your EC2 instance ID
ec2.stop_instances(InstanceIds=[instance_id])
print(f"Stopped instance: {instance_id}")
- Save
and deploy the function.
Step 4: Schedule the Tasks Using EventBridge
Amazon EventBridge allows you to create rules to trigger the
Lambda functions at specific times.
A. Create a Rule to Start the Instance
- Open
the EventBridge Console.
- Click
Create Rule:
- Rule
Name: StartEC2Rule
- Define
Event Source:
- Event
Source: Schedule
- Schedule
Expression: Use a cron expression for the start time (e.g., cron (0 7 * *
? *) for 7:00 AM UTC).
- Target:
- Select
the StartEC2Instance Lambda function.
B. Create a Rule to Stop the Instance
- Follow
the same steps as above.
- Rule
Name: StopEC2Rule
- Schedule
Expression:
- Use
a cron expression for the stop time (e.g., cron (0 19 * * ? *) for 7:00
PM UTC).
- Target:
- Select
the StopEC2Instance Lambda function.
Step 5: Test the Automation
- Wait
for the scheduled times or manually test the rules by clicking Test
in the EventBridge console.
- Check
your EC2 instances to ensure they start and stop as expected.
Key Benefits of Using EventBridge
- Reliable
Scheduling: EventBridge offers precise and scalable scheduling.
- Seamless
Integration: Works perfectly with Lambda and other AWS services.
- Cost
Optimization: Automates cost-saving actions without manual
intervention.
Conclusion
By using Amazon EventBridge with AWS Lambda,
you can easily schedule the automatic start and stop of your EC2 instances,
ensuring cost efficiency and operational convenience. Whether you’re running a
development environment or hosting a low-traffic application, this setup can
save you significant time and money.
Let me know if you would like help generating visuals for this blog
or tweaking the content further! 😊


0 Comments